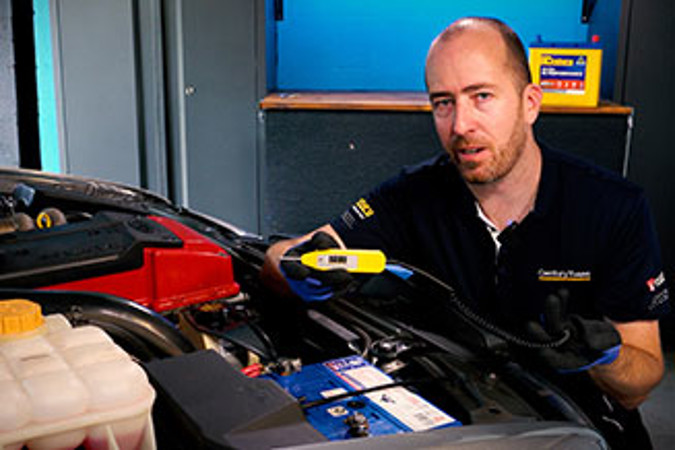
So how do you recharge a lead-acid battery. Well, the key is all to do with the speed in which it is done. Think about it like this – you’re transferring (or pouring) beer from a bottle into a glass. If you simply pour it in as quickly as you can all you’ll end up with is a foamy mess – and it’s the same with batteries
If you fast-charge a lead-acid battery using a high-amperage charger it’ll be quick, but you’ll be blasting the internals with so much power it’ll overheat and literally boil the electrolyte inside the battery. Whereas if you just took a bit longer you’ll end up with a far better result.
So how do you choose the right charger to use? It’s actually pretty easy. Check the top of your battery for the Ah rating. In this case you can see it right here – 60Ah. Get that figure and divide it by 10 – for 10% - and you get 6Amps. From there, look for a quality multi-stage battery charger like the Century CC1206 which has an appropriate amp setting on it – in this case it can do 1amp, 3amp or 6amp. Perfect.
It’s also worth noting – if you’re charging an AGM or GEL Deep Cycle battery, you can increase this calculation to 20% of the ampere-hour rating.
So how do we go about this? Firstly, follow the safety precautions listed on our website. Gloves and eye protection at a minimum are a good idea whenever you’re working with batteries. If the battery is outside the vehicle, make sure you’re in a well ventilated environment without ignition sources like naked flames or cigarettes nearby.
- Check the state of charge indicator on the top of the battery. If the battery is ‘bad and replace’ it’s safer to not attempt a recharge – the battery has reached the end of its life. Let it go.
- Next, check that the casing is free from damage and that it isn’t distorting or bulging from the sides. The charger and leads themselves should also be checked to make sure they in good condition
- With the charger turned off at the wall, we can connect the red/positive crocodile clip first, followed by the black/negative clip.
- We can now turn on the charger.
- Once it has activated, we need to select the battery type and the charge rate.
- The CC1206 can charge GEL batteries, AGM Flooded and EFB batteries, or it can charge regular calcium SMF batteries – which is what we’ve got here. So we hit the TYPE button until Calcium SMF is illuminated.
- With the charge rate, we worked out earlier that a rate of 6-amps will be perfect – so we hit the mode button until 6A is illuminated.
- From there, the charger will go through its 9-stage charging process which will take anywhere from 30-minutes to a few hours depending on the condition of the battery, and once complete will illuminate the Full LED indicator. When Full is illuminated, the charger is in maintenance mode and will trickle charge the battery periodically to keep it at full charge.
- Once you’re done, we can turn the charger off at the wall and then disconnect the clips – the black/negative clip first, followed by the red-positive.
That’s it! Keeping a battery fully charged is the perfect way to increase its performance and get the maximum lifespan possible out of it.
 Homepage
 Homepage


